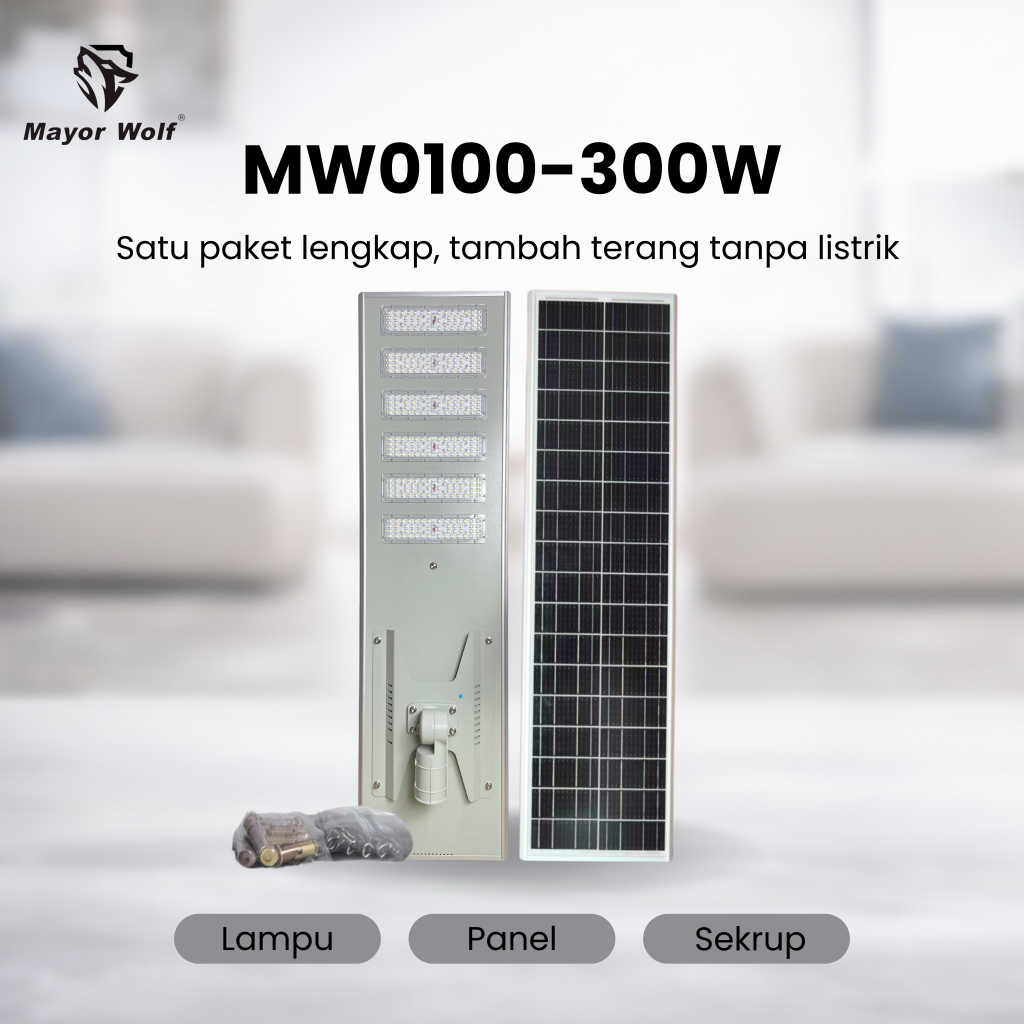
lampu jalan solar all-in-one vs split type menjadi salah satu topik penting untuk pembeli proyek yang ingin mendapatkan penerangan luar ruang yang efisien, tahan cuaca, dan mudah direncanakan. Panduan ini membantu Anda membaca kebutuhan teknis sebelum meminta penawaran.
Memahami dua sistem utama
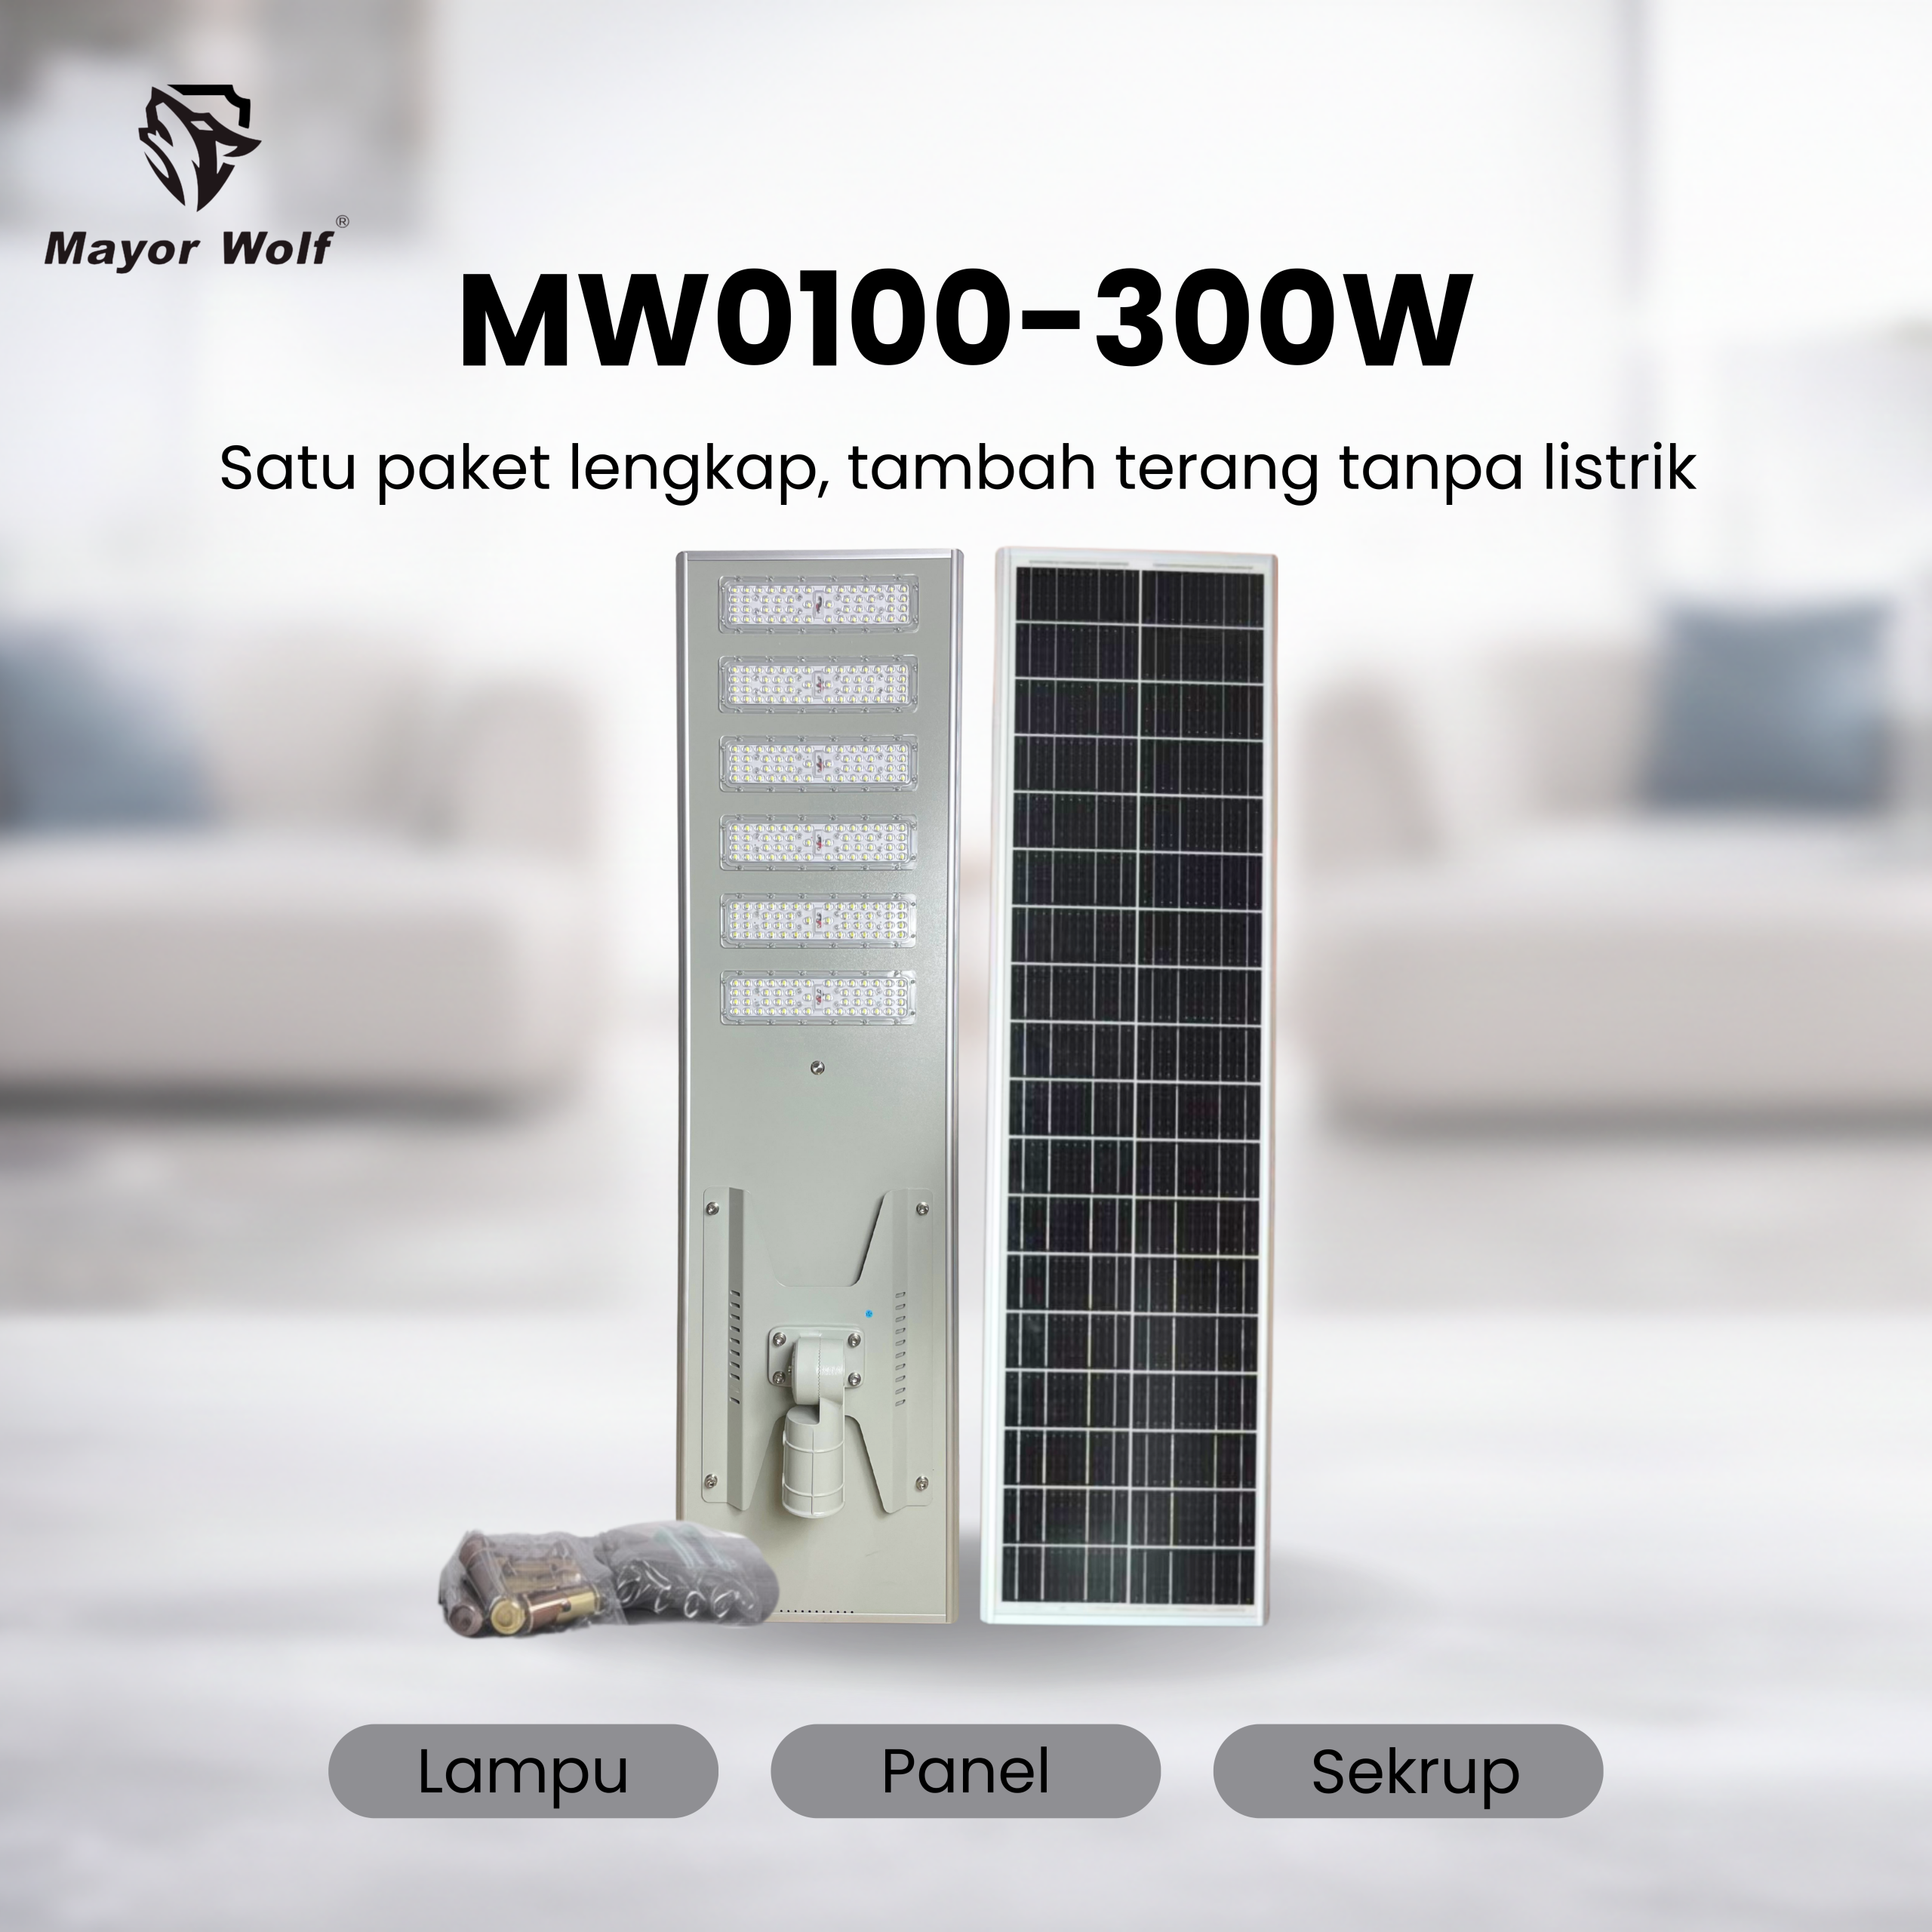
Lampu jalan solar all-in-one vs split type adalah pertanyaan yang sering muncul saat pembeli mulai membandingkan produk. Sistem all-in-one menggabungkan panel, baterai, controller, dan lampu dalam satu unit yang ringkas. Sistem split type memisahkan panel dan lampu sehingga arah panel dapat diatur lebih fleksibel. Keduanya bisa bekerja baik jika dipilih sesuai lokasi.
Perbedaan utama bukan hanya tampilan, tetapi juga fleksibilitas pemasangan, kapasitas komponen, kebutuhan tiang, dan cara perawatan. All-in-one biasanya lebih cepat dipasang dan terlihat rapi. Split type memberi ruang lebih besar untuk panel atau baterai pada kebutuhan tertentu.
Kapan all-in-one lebih praktis
All-in-one cocok untuk proyek yang membutuhkan pemasangan cepat, tampilan minimal, dan pekerjaan kabel lebih sedikit. Karena komponennya terintegrasi, tim lapangan dapat memasang unit lebih sederhana. Model ini sering dipakai untuk jalan lingkungan, area perumahan, taman, parkir kecil, dan lokasi yang mengutamakan kerapian visual.
Sistem all-in-one juga memudahkan distribusi untuk jumlah titik yang banyak karena unitnya lebih ringkas. Namun pembeli tetap perlu memperhatikan ukuran panel, kapasitas baterai, sudut pemasangan, dan paparan matahari. Jika panel pada unit all-in-one tidak mendapat sinar cukup karena arah jalan atau bayangan, performa bisa berkurang.
Kapan split type lebih fleksibel
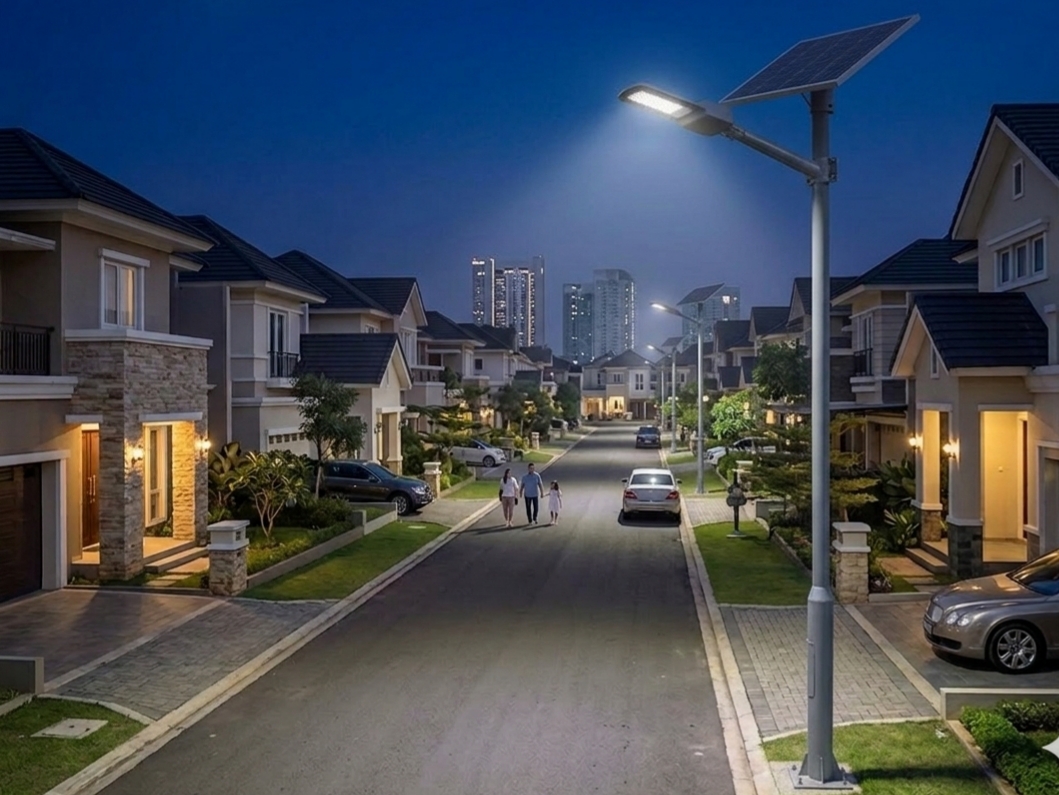
Split type lebih cocok ketika panel perlu diarahkan berbeda dari arah lampu. Contohnya jalan dengan orientasi tertentu, area banyak bayangan, atau proyek yang membutuhkan panel lebih besar. Karena panel terpisah, pemasang dapat mencari sudut matahari terbaik tanpa mengubah arah cahaya lampu. Ini menjadi keunggulan penting untuk lokasi yang tidak ideal.
Pada kebutuhan durasi nyala lebih panjang atau kapasitas daya lebih besar, sistem split type bisa lebih mudah disesuaikan. Baterai, panel, dan lampu dapat dirancang dalam konfigurasi yang lebih terbuka. Namun pemasangannya biasanya memerlukan lebih banyak perhatian pada kabel, bracket, dan perlindungan sambungan.
Perbandingan dari sisi instalasi
Dari sisi instalasi, all-in-one biasanya lebih cepat karena komponennya menjadi satu. Risiko kesalahan kabel lebih kecil dan tampilan siang hari lebih bersih. Untuk proyek yang mengejar waktu, model ini sering menjadi pilihan awal. Tetapi tetap perlu memastikan tinggi tiang dan sudut unit sesuai agar panel mendapat matahari dan cahaya menyebar dengan baik.
Split type membutuhkan pemasangan lebih detail. Panel, lampu, dan baterai harus ditempatkan dengan rapi. Kabel perlu dilindungi, sambungan harus aman, dan posisi panel harus kuat terhadap angin. Jika tim instalasi berpengalaman, split type dapat memberi hasil sangat baik untuk lokasi yang menuntut fleksibilitas lebih tinggi.
Perbandingan dari sisi perawatan
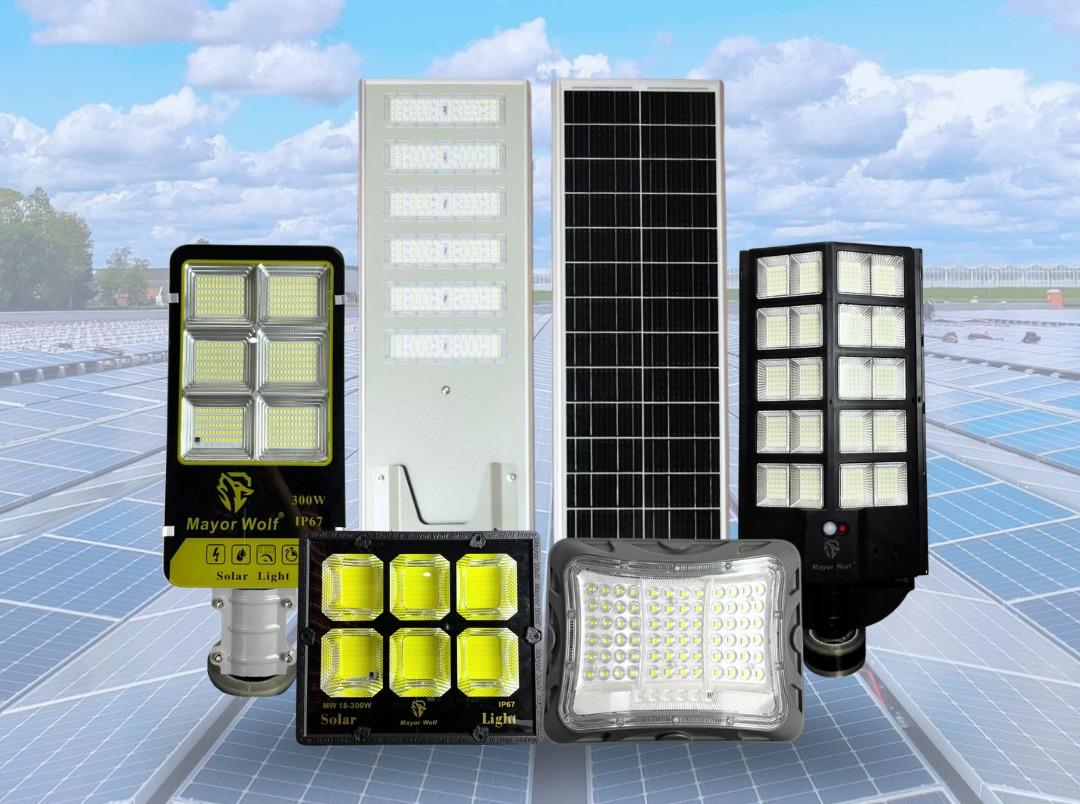
All-in-one lebih sederhana untuk pemeriksaan visual karena semua komponen berada di satu unit. Namun ketika ada komponen yang perlu diperiksa, teknisi harus mengakses unit utama di tiang. Split type memiliki komponen yang terpisah, sehingga beberapa bagian bisa lebih mudah diidentifikasi, tetapi jumlah sambungan lebih banyak dan harus dijaga dari air serta debu.
Dalam perbandingan sistem all-in-one dan split type, aspek perawatan tidak boleh dilepaskan dari kualitas produk. Sistem yang dirancang baik akan memakai material outdoor, seal yang rapi, controller yang terlindungi, dan bracket yang kuat. Perawatan ringan seperti membersihkan panel dan memeriksa posisi setelah cuaca ekstrem tetap diperlukan untuk kedua sistem.
Perbandingan dari sisi biaya
All-in-one sering terlihat lebih ekonomis untuk kebutuhan standar karena instalasinya cepat dan paketnya ringkas. Untuk area yang tidak terlalu kompleks, biaya total bisa lebih mudah dikendalikan. Split type dapat memiliki biaya lebih tinggi pada komponen dan pemasangan, tetapi memberi fleksibilitas yang kadang dibutuhkan untuk proyek tertentu.
Biaya terbaik bukan sekadar harga unit, tetapi biaya sesuai fungsi. Jika lokasi sebenarnya membutuhkan panel lebih fleksibel, memilih all-in-one hanya karena murah bisa menimbulkan masalah performa. Sebaliknya, memakai split type untuk area sederhana bisa membuat proyek terlalu kompleks. Pilihan paling baik adalah yang sesuai kondisi lapangan.

Cara memilih untuk proyek Anda
Jika area terbuka, tidak banyak bayangan, membutuhkan pemasangan cepat, dan tampilan rapi, all-in-one layak dipertimbangkan. Jika arah matahari sulit, kebutuhan daya lebih besar, atau panel perlu ditempatkan secara khusus, split type bisa lebih tepat. Kirim foto lokasi agar supplier dapat membaca arah matahari, posisi tiang, dan hambatan sekitar.
Untuk pengadaan atau proyek besar, minta perbandingan tertulis antara dua opsi. Cantumkan kapasitas panel, baterai, LED, rating IP, material, mode kerja, dan estimasi durasi nyala. Dengan begitu, lampu jalan solar all-in-one vs split type dapat dibandingkan secara teknis, bukan hanya berdasarkan tampilan katalog.
Kesimpulan
Tidak ada sistem yang selalu lebih baik untuk semua proyek. All-in-one unggul dalam kepraktisan dan tampilan ringkas. Split type unggul dalam fleksibilitas dan penyesuaian komponen. Keputusan terbaik muncul setelah membaca lokasi, target cahaya, durasi nyala, dan kemampuan instalasi.
Mayor Wolf menyediakan berbagai pilihan lampu jalan surya untuk kebutuhan jalan, area parkir, kawasan, taman, dan proyek khusus. Hubungi kami untuk mendapatkan rekomendasi all-in-one atau split type yang sesuai dengan kondisi lapangan dan anggaran Anda.
Implementation steps after the specifications have been selected
Once the initial model has been selected, the next step is to create a list of installation points. Mark the areas that need lighting the most first, such as curves, gates, small intersections, pedestrian paths, parking areas, and areas with nighttime activity. This list helps you calculate the number of units more accurately and reduces the risk of buying too many or too few.
If the space is large enough, divide it into several zones. The main zone is the area that must always be well-lit, while the supporting zones are areas that can use moderate lighting or motion sensors. This division helps keep the budget under control because the specifications do not have to be the same for every location. The zoned approach also makes it easier for the project team to explain the rationale behind model selection to the property owner or the procurement department.
Things to Check When Receiving Your Order
Upon receipt of the goods, check the number of units, the condition of the packaging, and whether the brackets, remote controls, or accessories are included, as well as whether the model matches the order. Taking photos of the items before and after opening the packaging will help with documentation in case of shipping damage. For projects with multiple locations, keep a record of the unit numbers or installation groups to make on-site inspections easier.
Before mass installation, conduct a simple test on a few units. Make sure the lights turn on, the sensors are working, the remote control functions properly (if available), and the panel receives sufficient sunlight. This preliminary test does not replace professional installation, but it helps identify basic issues before all units are installed. This small step often saves time when the project is located far from a warehouse or store.
Installation standards that contribute to service life
The panels should be oriented toward an area that receives the best sunlight and is not shaded by trees, billboards, or buildings. If using an existing pole, make sure the structure is still strong enough to support the load and withstand the wind. Joints, bolts, and brackets need to be securely fastened so that the lights do not shift out of position after heavy rain or vehicle vibrations.
In public areas, lighting direction must also prioritize user comfort. Lights should not be too blinding for drivers, security guards, or nearby residents. If the area has security cameras, the lighting direction can be adjusted so that faces, license plates, and access routes remain visible. The best results are usually achieved when lighting is considered in conjunction with safety, aesthetics, and ease of maintenance.
Minimal aftercare following installation
Maintaining solar lights isn’t complicated, but it still requires a basic maintenance schedule. Clean the panels of dust, leaves, and debris periodically. Check for any new trees, buildings, or other objects that are starting to block the panels. Make a note of any units that appear dim so you can check them early before they stop working entirely. With this simple maintenance, the system’s performance is usually more stable throughout the year.
For project buyers, keep your proposal documents, installation photos, fixture location records, and the supplier’s contact information. This information will be useful when you need to file a warranty claim, add units, or undertake a follow-up project. Mayor Wolf can help reassess your site requirements if, after installation, there are changes to the area, additional fixtures, or a need for brighter lighting.
Short message template for requesting a quote
To speed up the consultation process, please send a message in a simple format: type of location, city or province, number of poles, pole height, area size, target operating hours, and a photo of the location. If you already have a preliminary budget or a delivery deadline, please include that information from the start. This information allows the supplier team to immediately filter relevant models and avoid wasting time on unsuitable options.
For projects still in the planning stage, it’s okay if not all the data is complete yet. Start with photos of the site and the intended use of the area, then move on to technical discussions. A phased approach is better than waiting for perfect documentation only to have decisions delayed. The sooner the initial requirements are understood, the sooner estimates for the product, the number of units, and the bid range can be prepared.
Night Shift Handover and Evaluation Notes
Once installation is complete, conduct inspections at night, not just during the day. Note which areas are well-lit, which still need improvement, and whether the light direction needs to be adjusted. Photos taken at night will serve as useful handover documentation for the project owner, the procurement team, and the supplier in case further adjustments are needed. These notes also facilitate future additional purchases and simplify cross-site evaluations. If the project has multiple phases, use the same set of notes to ensure lighting standards remain consistent, are easy to audit, and can be easily passed on to new teams. This way, future purchasing decisions won’t have to start from scratch, and project communication will be clearer.